
Open ten browser tabs right now and look at the tiny icons sitting next to each page title. Those little squares are favicons, and they do more work than most bloggers realise. A favicon is the first thing a reader sees in a tab, in a bookmark list, and in Google search results on mobile. If your Blogger blog still shows the default orange Blogger “B”, every tab looks the same — and yours is the one nobody remembers.
The good news is that learning how to add a favicon to blogger takes about five minutes, costs nothing, and needs no coding at all. Blogger has a built-in uploader that does the whole job. In this guide I will walk you through how to add a favicon to blogger with the easy Settings method, show you how to make an icon that still looks sharp at 16 pixels wide, explain the manual HTML method for older themes, and fix the one problem almost everyone hits: the new icon not showing up straight away.
Table of Contents
What Is a Favicon, and Why Does It Matter?
A favicon is the small icon a browser shows next to your site’s name in tabs, bookmarks, and history. Before you learn how to add a favicon to blogger, it helps to know exactly what that little square is. The word comes from “favourite icon”, and the standard size is just 16 by 16 pixels — about the width of a single letter on your screen. That tiny square carries your brand everywhere your blog goes.
Why bother with something so small? Three reasons — and why knowing how to add a favicon to blogger is worth five minutes of your time. First, recognition. Readers often keep five or ten tabs open at once, and a distinct icon lets them find your blog in a second. Second, trust. A blog with its own icon looks finished and professional, while the default Blogger icon quietly says “I never got around to this”. Third, Google now shows favicons next to many search results on mobile, so your icon can make your listing stand out before anyone reads a word.
You do not need a design degree for this. A simple letter, a single shape, or a cropped version of your logo is usually enough. That is the first lesson of how to add a favicon to blogger: keep it simple. What matters is that the icon is yours, it is square, and it is easy to recognise when it is very small. Keep that in mind while you work through the steps below, and the whole job will feel much simpler than it sounds.
How to Add a Favicon to Blogger the Easy Way
This is the method almost everyone should use. Blogger added a built-in favicon uploader years ago, and it handles the file, the resizing, and the code for you. You will not touch your theme’s HTML at all.
Step 1: Sign in to Blogger and open your blog
Go to blogger.com and sign in with the same Google account that owns your blog. This is the first step of how to add a favicon to blogger, and it matters because the icon is tied to the blog you pick here. If you run more than one blog, click the blog you want to change from the dashboard. Everything from here happens inside that blog’s settings, so double-check you picked the right one before uploading anything.
Step 2: Open Settings
In the left-hand menu, click Settings. This is the same page where you manage your blog title, description, and custom domain, so it may already look familiar. The Settings page is where how to add a favicon to blogger actually happens. Scroll down to the Basic section, near the top of the page. You will see a row labelled Favicon, showing either the default Blogger icon or the icon you uploaded last time.
Step 3: Click the Favicon option
Click on the Favicon row. A small window opens with a preview of your current icon and a button to choose a new file. This is the heart of how to add a favicon to blogger: once you pick a file here, Blogger stores it and serves it to every visitor automatically.
Step 4: Choose your icon file
Click Choose file (the button may say Select icon file on some accounts) and pick the image from your computer. This is the moment how to add a favicon to blogger becomes real: pick the file you made and watch the preview change. Blogger accepts square images in PNG, JPG, GIF, or ICO format, and the file must be under 100 KB. A 100 by 100 pixel PNG is a safe choice — big enough to stay crisp, small enough to upload without trouble. If your file is larger than 100 KB, shrink it first with any free image tool or an online compressor.
Step 5: Save and check your blog
Click Save in the pop-up window. Now open your blog in a new browser tab and look at the tab itself. Your new icon should sit next to your blog’s title. If you want a second walkthrough of the same steps with screenshots, this detailed favicon guide covers the Settings method in full. If it does not appear immediately, do not panic — that is normal, and I explain exactly how to fix it in the troubleshooting section below.
That is the whole method, and that is how to add a favicon to blogger the easy way. Five steps, no code, no extra tools. If you already have a square logo or a simple icon ready, you can finish learning how to add a favicon to blogger in less time than it takes to make a cup of tea. The next section helps you create that icon if you do not have one yet.
How to Create a Favicon Image That Looks Good at 16 Pixels
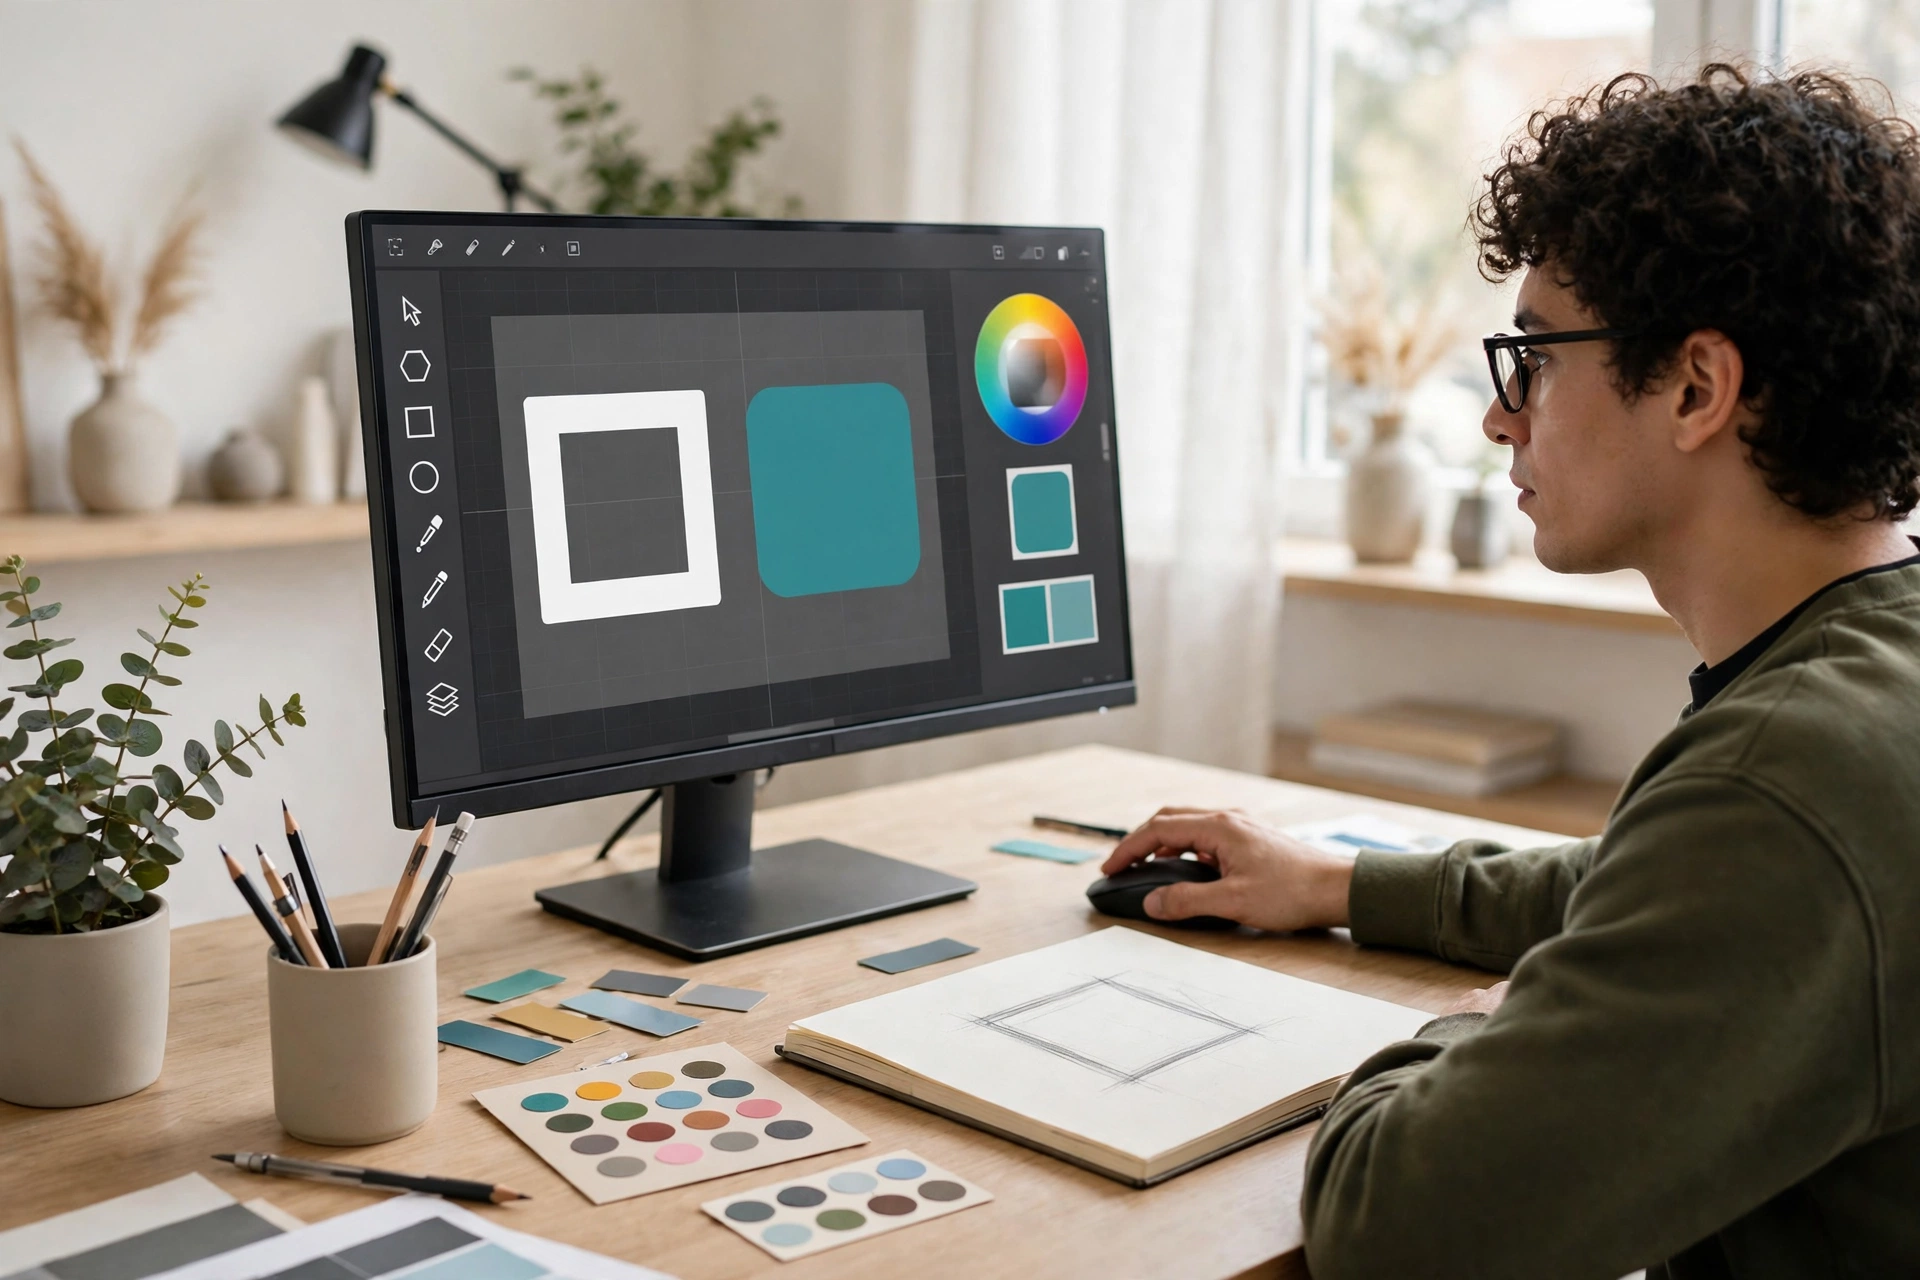
Most favicon failures are design failures, not technical ones. An image that looks great at full size can turn into a grey smudge at 16 pixels. So when you plan how to add a favicon to blogger, design for the smallest size from the start.
Start with a square canvas — 512 by 512 pixels is a good working size — and keep your design brutally simple. One letter, one symbol, or one bold shape beats a detailed logo every time. If your blog is called “Travel With Sara”, a bold “T” on a coloured background will read far better than a tiny photograph of a mountain. If you already have a logo, try cropping just its most recognisable part instead of squeezing the whole thing in.
Use strong contrast. Dark shapes on a light background, or a bright colour on a dark background, survive shrinking far better than soft pastels or thin lines. Test your design by zooming out until it is roughly the size of a fingernail: if you can still tell what it is, it will work as a favicon. If you cannot, remove detail until you can.
Free tools make this easy. Canva has a free favicon template, and favicon.io can turn text, an image, or an emoji into a ready-made icon file in under a minute. Save the result as a PNG, keep it under 100 KB, and you are ready to upload — that file is all you need for how to add a favicon to blogger. A quick note on file types: PNG is the best default choice because it keeps colours clean and supports transparency, while ICO is the older standard that some browsers still prefer. Blogger accepts both, so use whichever your tool gives you.
How to Add a Favicon to Blogger Using Theme HTML
The Settings method works on almost every Blogger blog. But if your theme is very old, heavily customised, or the Favicon option simply does not appear, here is how to add a favicon to blogger by hand instead. It takes a few more minutes and involves editing your theme’s HTML — carefully, and with a backup first.
Step 1: Back up your theme
Before touching any code, open Theme in the Blogger dashboard, click the three-dot menu next to Customise, and choose Backup, then Download theme. This backup step is part of how to add a favicon to blogger safely, so do not skip it. Save that file somewhere safe. If anything goes wrong, you can restore your blog in seconds by uploading the same file. This one habit has saved more bloggers than any other tip in this guide.
Step 2: Host your favicon image somewhere stable
The manual method needs your icon at a public web address, because the theme will link to it. This is the one extra thing this version of how to add a favicon to blogger asks of you. Upload the PNG or ICO file to a reliable host — Google Drive with a public link does not work well for this, so use your own hosting, a free image host, or a CDN you control. Copy the direct URL; it should end in .png or .ico.
Step 3: Add the favicon link to your theme
In Blogger, open Theme, click the three-dot menu, and choose Edit HTML. Use the search box inside the editor (Ctrl + F) to find the opening <head> tag, or search for <title> — your favicon line goes just below it. Paste this line, replacing the example address with your own image URL:
<link rel="icon" type="image/png" href="https://example.com/favicon.png" />If your file is an ICO file, change type="image/png" to type="image/x-icon". Then click Save theme. That is all the code you need — one line, in the right place — and that completes how to add a favicon to blogger the manual way.
Step 4: Check the result
Open your blog in a new tab and look at the icon. As with the Settings method, caching can delay the change, so give it a few minutes and try a hard refresh before deciding it failed. If the icon still does not appear after a hard refresh, check the image URL by pasting it into your browser: if the image itself does not load, the address is wrong, and that is your problem, not Blogger.
Which method should you choose? For almost everyone, the Settings method. It is faster, safer, and Blogger manages the file for you. Use the HTML method only when the Settings option is missing or when you need to point at an icon hosted somewhere specific. Either way, the result is the same: your blog finally has its own icon in every tab.
Why Your New Favicon Is Not Showing (and How to Fix It)
This is the part that frustrates people. You followed every step of how to add a favicon to blogger, you clicked Save, and your blog still shows the old orange icon. Before you redo everything, understand what is happening: favicons are cached aggressively. Browsers, Google, and even Blogger itself store the old icon and keep showing it for hours or days after you change it. The upload almost certainly worked — you just cannot see it yet.
Try these fixes in order — none of them means your attempt at how to add a favicon to blogger failed. First, do a hard refresh: press Ctrl + F5 on Windows or Cmd + Shift + R on a Mac while your blog tab is open. Second, open your blog in a private or incognito window, which usually loads a fresh copy. Third, clear your browser cache for the last hour and reload. Fourth, check on a different browser or your phone — if the new icon shows there, your main browser is simply holding the old one.
Google Search is slower still. Even after your browser shows the new icon, Google can take days or even a couple of weeks to update the icon in search results, because it recrawls favicons on its own schedule. That delay has nothing to do with how to add a favicon to blogger — it is Google’s timetable, not your mistake. There is nothing you can do to force it, and uploading the icon again will not help. Patience is the only fix here, and it does work — the new icon will appear.
Two other causes are worth checking. If you uploaded a file larger than 100 KB, Blogger may have silently rejected it — check the file size and try a smaller version. And if your icon is not square, Blogger may crop it in a way you did not expect; a 100 by 100 pixel square is the safest shape. Once you have ruled those out, wait a day and check again. Nine times out of ten, the icon is already live and the cache was the only problem.
7 Mistakes to Avoid When You Add a Favicon to Blogger
Small mistakes cause most favicon trouble. Here are the seven I see most often when people learn how to add a favicon to blogger, so you can skip all of them.
- Using a photo with too much detail. A landscape photo or a group portrait becomes a blur at 16 pixels. Use one bold shape or one letter instead.
- Uploading a file over 100 KB. Blogger’s limit is firm. Compress the image first — most tools can cut a PNG to a fraction of its size without visible loss.
- Forgetting the square shape. A wide rectangular logo gets squashed or cropped. Always start from a square canvas.
- Editing theme HTML without a backup. One wrong keystroke in the theme editor can break your whole blog layout. Download the backup first; it takes ten seconds.
- Using a low-contrast design. Pale grey on white, or thin light lines on a pale background, vanish at small sizes. Pick colours that fight each other a little.
- Re-uploading every hour when it does not show. Each re-upload resets nothing — the browser cache is the problem, not the upload. When you learn how to add a favicon to blogger, resist the urge to keep uploading: wait, hard-refresh, and check in an incognito window instead.
- Skipping the mobile check. Most of your readers are on phones, where the favicon appears in search results and bookmarks. Open your blog on your phone after uploading and confirm the icon looks right there too.
Avoid these seven, and your favicon will look good everywhere it appears — tabs, bookmarks, history, and search results.
How a Favicon Fits Into Your Blog’s Branding
A favicon is small, but it is part of a bigger picture. Once you know how to add a favicon to blogger, you have finished the smallest piece of your brand. The bloggers who look most professional online repeat the same few brand elements everywhere: the same colours in their header and their icon, the same short name in their title and their social profiles, the same style in their images. Your favicon is the smallest piece of that puzzle, and it is also the easiest to finish — which makes it a good first step.
If you have not set up a custom domain yet, that is the natural next branding step after your favicon. A custom domain replaces the .blogspot.com address with your own name, and it makes the whole blog feel like a real website rather than a free experiment. I explained the full process in my guide on how to add a custom domain to Blogger, and the two changes together — icon plus domain — transform how your blog looks to every visitor.
Branding does not need a budget. A free icon, a free domain setup guide, and an hour of your time are enough to make a Blogger blog look like it belongs to someone who takes it seriously. Start with the favicon: learning how to add a favicon to blogger is the quickest win on the whole branding list.
Frequently Asked Questions
What size should a Blogger favicon be?
Blogger recommends a square image under 100 KB. A 100 by 100 pixel PNG is the safest choice when you learn how to add a favicon to blogger for the first time: it uploads without trouble and stays sharp when Blogger converts it down to 16 by 16 pixels for browser tabs. Larger squares like 512 by 512 pixels also work if the file stays under the size limit.
Can I use a JPG file as my Blogger favicon?
Yes, Blogger accepts JPG, PNG, GIF, and ICO files. PNG is the better choice in most cases because it keeps colours clean and supports transparency, so a logo without a background stays background-free. JPG works fine for a simple photo-based icon, but it cannot do transparency.
Why is my new favicon not showing on Google Search?
Google updates favicons on its own crawl schedule, which can take days or even a couple of weeks after you upload. Your browser usually shows the new icon much sooner. As long as the icon shows correctly in a fresh browser tab, the upload worked, and Google will catch up by itself. Re-uploading the file does not speed this up.
Do I need to know HTML to add a favicon to Blogger?
No. The built-in Settings method needs no coding at all — you just upload an image and click Save, and that is the whole point of how to add a favicon to blogger the easy way. The HTML method is only a backup for old or heavily customised themes where the Settings option is missing. Most bloggers never need it.
Can I change my Blogger favicon later?
Yes, as often as you like. Go back to Settings, open the Favicon option, and upload a new file. The steps for how to add a favicon to blogger stay exactly the same every time you change it. The old icon is replaced immediately on Blogger’s side, though browsers and Google may keep showing the old one for a while because of caching. There is no limit on how many times you can change it.
Disclaimer
This article is general educational information only, not professional or financial advice. Steps, limits, and Blogger settings can change — Blogger updates its dashboard from time to time, so if a button has moved, check Google’s official Blogger help pages for the current layout. File-size limits and supported formats are set by Blogger and may change without notice.
To learn more about the site behind this guide, visit the About Us page.